Websites serve as online calling cards and are a wonderful way of reaching potential customers. However, the once complicated process of creating a website can scare away many who lacked the technical skills. Today the process has become less complicated, and just about anyone can create their own website.
Building your own gardening/landscaping website can:
- Benefit you financially and give you more control over the creative process.
- You can save a lot of money by doing your own work while retaining control over your personal files.

Here are a few basic tips that should help you out if you decide to build one on your own:
Gather up samples of your work

Let’s start off by gathering some basic resources! Visitors need to see what you have done, so start off by building a basic portfolio. This builds confidence in viewers by showing them you have actual experience.
You do not have to use a professional camera to get decent photos. Today’s mobile phones are way more advanced and offer many post-processing features. Have a customer or friend take pictures of you working.
Make sure to take a nice portrait picture of you smiling for the About section of the page.
Create a basic draft of your pages
Scribble down how you want to structure your website on a notepad. A basic website needs at least 4 pages: home, contact, samples, services, and about.

1. Home Page
Home is a basic introduction and the welcome landing page of what your website represents. Make sure to include the area where you provide your services. This will also help with SEO and those looking for services in an area.
2. Contact Page
The contact page should have your business email and number displayed. Some people prefer to call directly instead of emailing. The contact email helps as a backup in case your submission form fails for any reason. Customers can also copy and paste the email into their email composer.
Using your personal number or email address is not a good suggestion They are a lot of online information scrappers that harvest your online information and sell it.
3. Gallery Page
Place the pictures you collected in a folder on your computer, while avoiding redundancy. Try to use a few pictures to represent all the work you have done.
Next, optimize your pictures for online usage. This reduces loading time within internet browsers and helps SEO. Nothing is more annoying than a website that takes too long to load.
4. Services Page
Create a list of services you offer with a brief description of what sets your service aside from others.
5. About Page
In your About section give a brief introduction of yourself or your business. Coupled with, how long you have been in operation. You can combine your About page with an introduction on the Home page or as a standalone.
Design logo (Optional)

A logo can be as simple as a font or have more complicated graphics. Whichever option you choose, try to keep it related to your business. Use solid colors in case you want to print on shirts or create other promotional material. Remember, logos can always be changed in the future, so do not get obsessed with designing the logo itself.
Create a color scheme

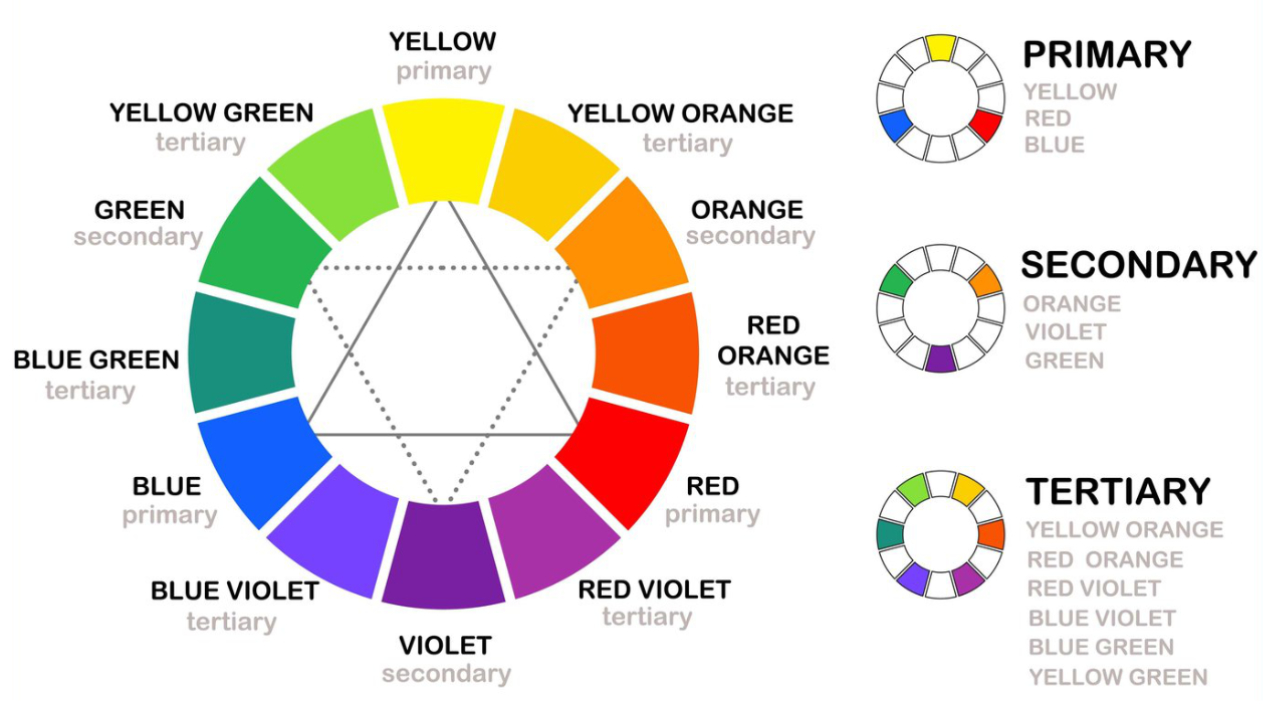
Colors are just as important as a name since they can become a part of a business’s brand. Green and brown are the universal colors that represent plants and the earth. Regardless, you can get creative and be unique with your color palette.
Buy a domain
Choose a domain name that represents your business or you (if working as an individual). If working as an individual, having part of your name incorporated into the domain name can be a benefit. It helps you build up a reputation and a close one-on-one connection with clients.

On the other hand, if you are planning to run a bigger business, then you will need something more professional. Try to incorporate the name of the services you are offering for example gardening, lawn care, or maintenance into the name. You can also be creative with the name by adding words related to gardening such as earth, colors, etc.
Domain names can be found very reasonably and sometimes as free depending on the hosting you choose. GoDaddy, Google Domains and Host Gator are a few well-known companies.
Choose hosting and software
Your website will need to be hosted somewhere. What you decide on will come down to your skill set and preference. Many hosting setups come preinstalled with open-source software, therefore allowing easy installation.

WordPress is one of the most popular open-source platforms for novice website building. It is very user-friendly and Search engine optimized. They also have a large library of free themes and plugins, so you can customize your website the way you want.
Alternatively, they are many online website builders such as Weebly and Wix that offer you basic drag-and-drop functions. But keep in mind, you will not have as much control over the customization process.
Start building and get some feedback

You can start building your new website now, once you have gotten all the materials and the basic draft together. The next step is linking your domain to your installed hosting software. This will give you access to an admin backend where you can create your pages. They are tons of online videos that will provide the basics if you become stuck.
Final Thoughts
If the entire process ends up being stressful, it is always best to hire someone to do it. Many gig websites such as Freelancer and Fiverr are great avenues for finding professional website builders.
Finally, before you, launch it is always good to have someone else proofread and go over your work. Ask family and friends what they think about your website.
