
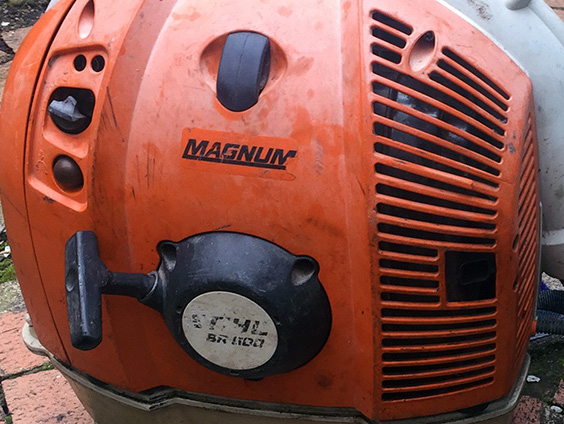
Like a four-stroke engine, the Stihl 4 MIX line of products requires routine valve adjustments. Having proper valve adjustment helps the engine to run at its maximum capacity. A few signs that you may need to adjust your valves are loss in compression, trouble starting, loss in power, or degradation in fuel efficiency.
The process of adjusting valves can seem intimidating or too complicated for a first-timer. For this reason, many people tend to shy away from them. however, it is a straightforward process. With a little bit of patience and the right tools, you can adjust your engine’s valves.
Tools needed are; Torx T-Wrench or T27 driver, 5/8 spark plug socket (not necessary if you have a STIHL t-wrench), Valve Clearance Feeler Gauge (part number 4282 007 1001), and 8mm socket.
Step 1
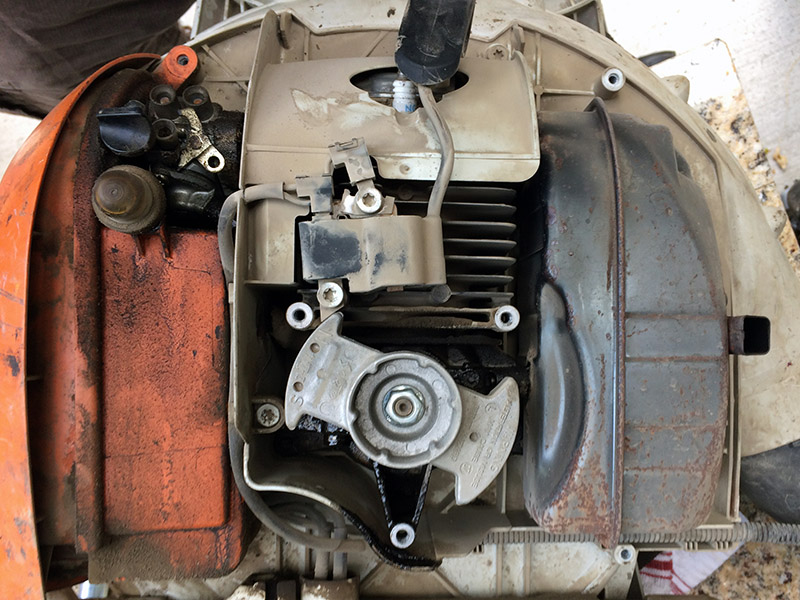
Using the T27 driver, remove the pull starter assembly, shroud motor cover, and then the air guide shroud. Place all the parts aside, being careful not to get them mixed up. Removing these parts will give you access to the valve cover.
Step 2
To access the valves, you will need to remove the spline screw that is holding the valve cover in place. After removing the screw put the valve cover aside and inspect the gasket. Order a replacement if needed.
Step 3
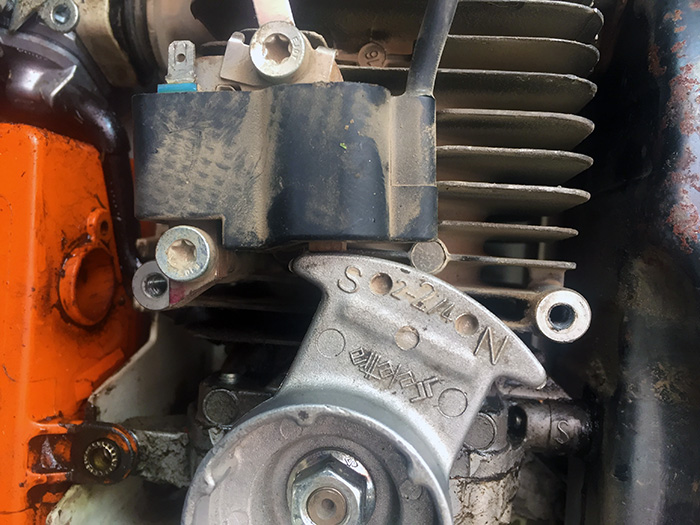
Next, manually rotate the flywheel, so the piston reaches Top Dead Center. While looking at the rocker arms, position the flywheel just below the magnet on the ignition coil. There is a letter “S” engraved in the flywheel, this letter should line up just under the magnet.
You will need to confirm that the flywheel is in the Top Dead Center position by slightly rotating it back and forth. Once in the TDC position, the rocker arms will not move. This is particularly important, failing to put the piston at TDC will cause the pushrods to drop or render the entire process ineffective.
An alternative way to check if the piston is in the TDC position is to remove the spark plug and observe its position. When in the TDC position, the piston head will be at the very top of the cylinder.
Step 4
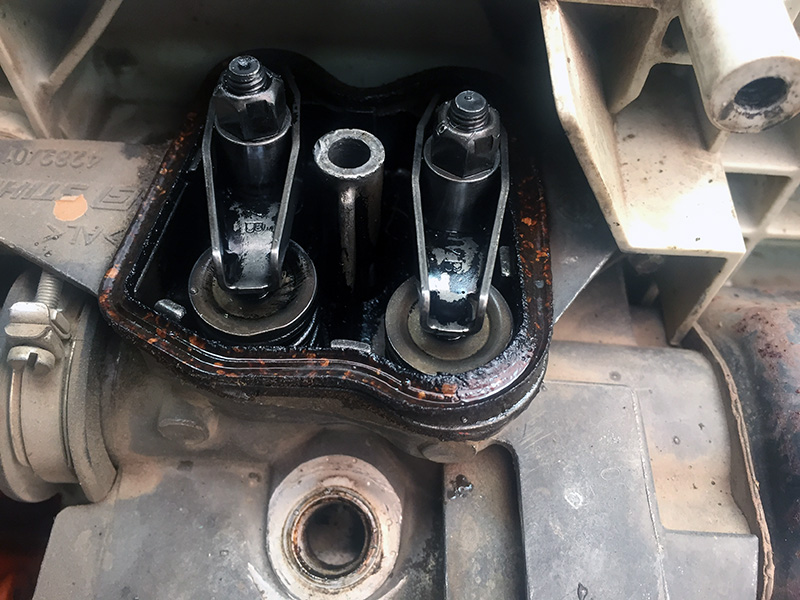
Insert the tip of the feeler gauge between the valve spring retainer and the rocker arm. The clearance for each valve should be .004 inches or 0.1mm. Using the 8mm socket gently rotate the 5m locknut located on the rocker arms, clockwise to tighten and counterclockwise to loosen. Tighten so that the feeler gauge fits snug, but not too much that it gets stuck. Alternatively, losing the nut if the feeler gauge is too lax when you remove it. This part of the process can be a little tedious, however, it is important to get it exactly right.
Step 5
After you have made adjustments to the valve, reinstall the spark plug and start up the engine to ensure that everything is working properly. Lastly, reinstall the motor and valve cover the reverse order you took them off.
As a rule of thumb, you should also adjust your valves at least one time for the year or around 150 hours of operation. Refer to your owner’s manual to see if you have a 4 MIX or 2-stroke engine.