Each year many homeowners throw away their garden hoses when they become damaged. This makes sense since normal wear and tear is common with any tools used in the yard a lot.
Hoses or attachments can become damaged or rusted over time, therefore, making it impossible to function properly. Nonetheless, they are simple ways to repair your garden hose for just a few dollars. The most feasible one being, purchasing a garden hose repair kit and doing it yourself.
Hose repair kits

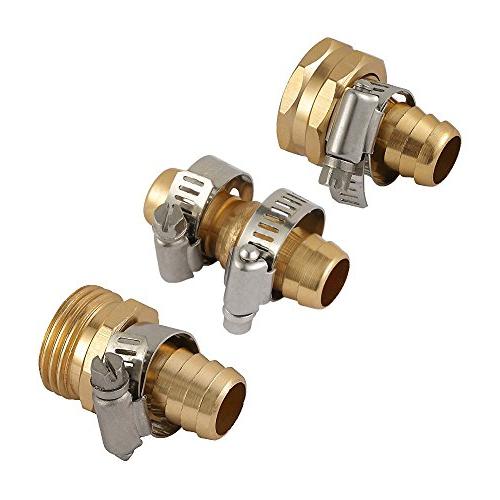
Repair kits normally come with all the necessary parts, but you can buy the pieces separately if you prefer. Included in most repair kits are a hose clamp, connecting mender, female mender, and male mender. A standard 5/8 garden hose has one male and a female attachment end on each side. The female section of the hose connects to your spigot, while the male end is the section used for attaching nozzles and wands. Besides the repair kits, the only other items needed are a hacksaw or utility knife.
Damaged attachment/connecters
Begin the installation process by cutting off the end that you want to replace and inserting the new mender into the inner section of the hose.
Next, place the hose clamp over the area that you previously cut and begin to tighten. The hose clamp will ensure that the mender stays in place and stop any leaks.
Holes and tears
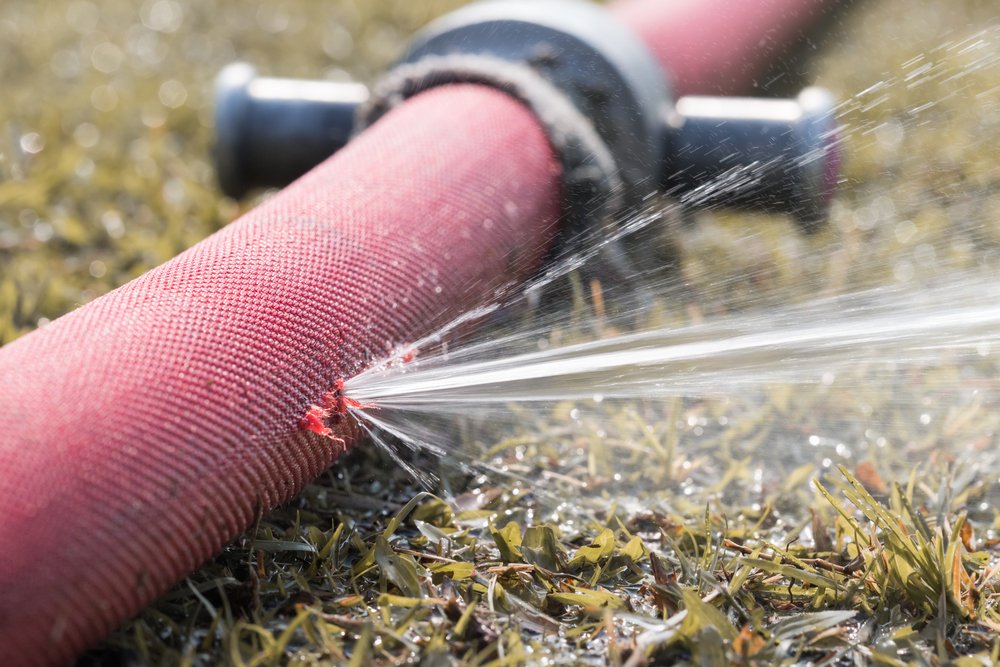
Although tape may seem like a quick fix, they are an unreliable solution. Instead, you can use the connecting hose mender for repairing holes and, rips, and tears. Hose connectors basically work by attaching two sections of hose together.
In order to install a connecting mender, you first need to remove the damaged portion of the hose. next proceed to cut 2 inches from each side. You will end up with two pieces of hose, one that has the female end and the other with the male end.
Next, insert the end of each hose into one end of the mender and begin to tighten down with the hose clamp.
Repairing your garden hose is also a great way of recycling those old hoses that would end up in a landfill otherwise.

