
Changing the line on a Stihl trimmer is a simple process that can be done in a few minutes. Here are the steps involved. Before you begin, make sure that the trimmer is turned off and the spark plug is disconnected. Wear safety glasses and gloves to protect yourself from injury.
Advertisement
Remove the old line
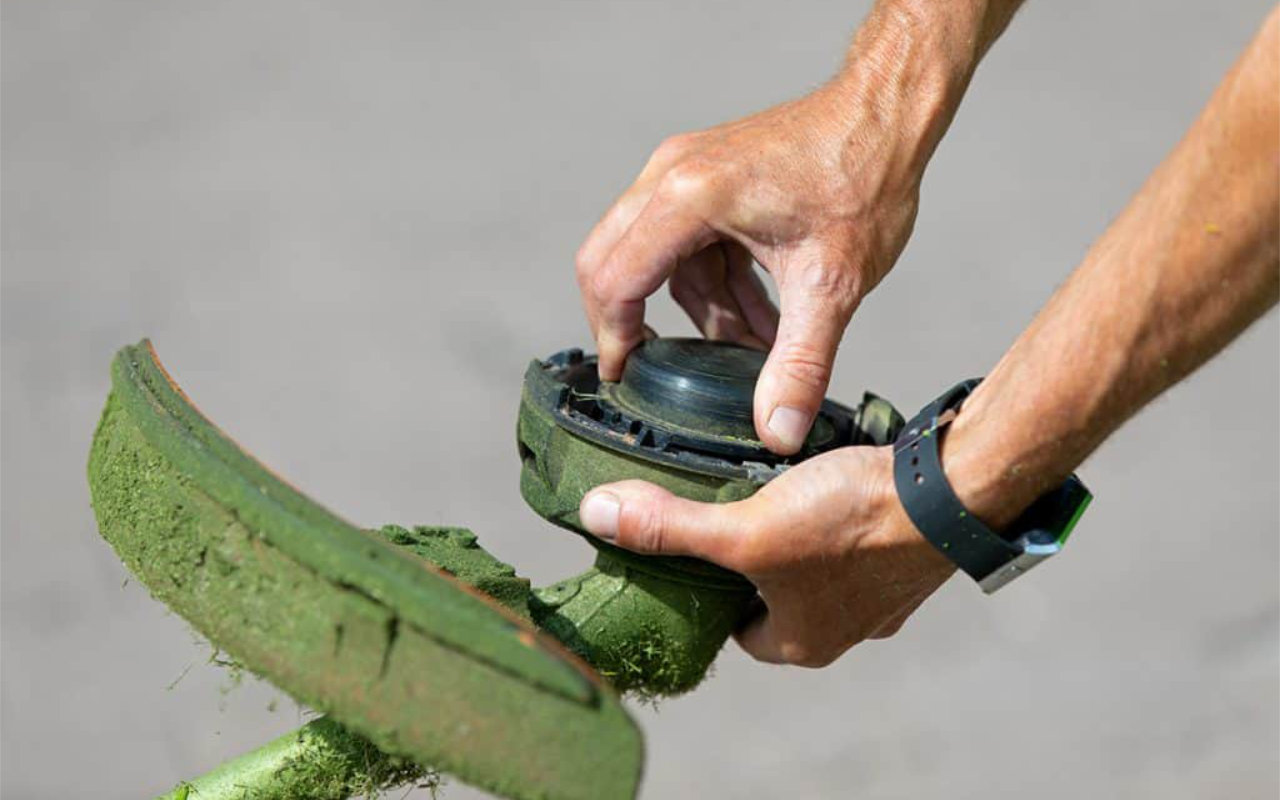
- Locate the trimmer head.
- Remove the cover of the trimmer head.
- Remove the old line from the spool.
- Discard the old line.
Install the new line
- Cut two pieces of line to the recommended length.
- Thread one end of each piece of line through the eyelet in the spool.
- Wind the line around the spool in a clockwise direction, making sure to overlap the ends by about 1/2 inch.
- Cut off any excess line.
- Secure the line in place with the spool cover.
Test the trimmer
- Turn on the trimmer and let it run for a few seconds.
- Check to make sure that the line is feeding out properly.
- If the line is not feeding out properly, you may need to adjust the spool tension.
- Dispose of the old line properly
- Wrap the old line in a piece of paper and dispose of it in the trash.
- Do not burn the old line, as it can produce toxic fumes.
Here are some additional tips for changing the line in your Stihl trimmer head:
- Use the correct size line for your trimmer.
- Make sure that the line is not too long or too short.
- Wind the line on the spool evenly.
- Secure the line in place tightly.
- Test the trimmer before using it.
By following these steps, you can easily change the line in your Stihl trimmer head and keep your trimmer in good working condition.
Advertisement