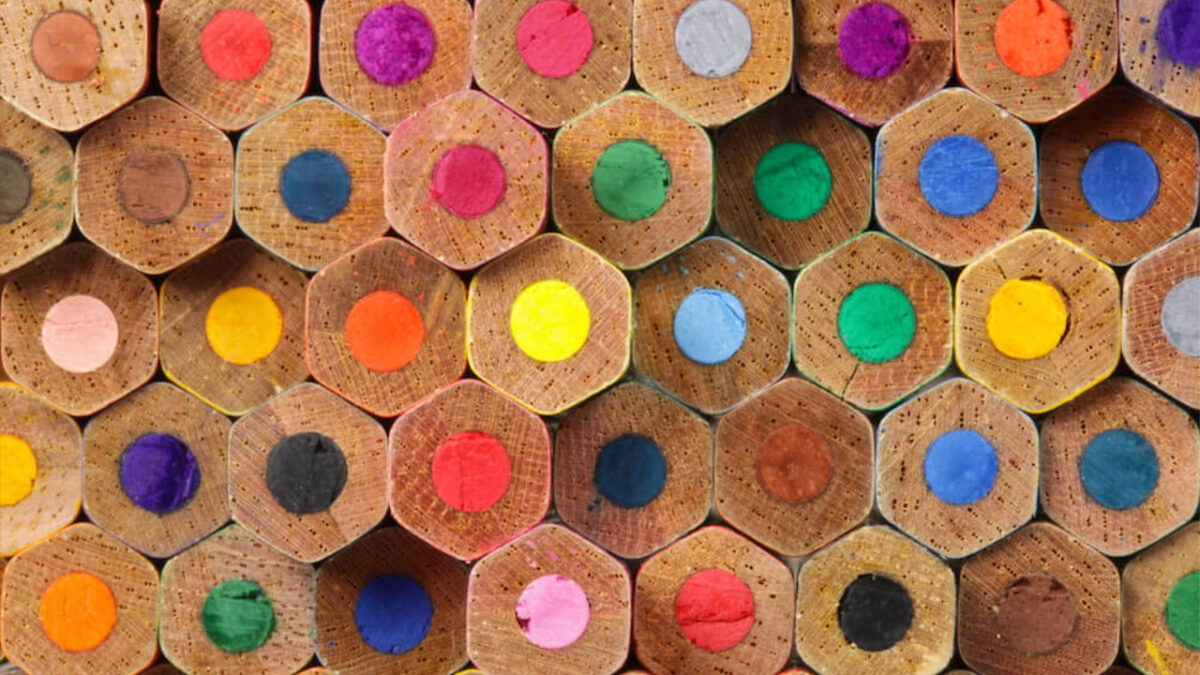
Colored pencils have become a popular medium for budding new artists. Beginner artists using this form find it generally easier to express their creativity; because of the control and convenience, colored pencils offer.
Other mediums like oil paint, for example, appear to present much bigger challenges for new artists. Working with colored pencils is a wonderful alternative to get your creative juices flowing.
Let’s start our analysis of the colored pencil medium by defining some popular techniques many artists employ.
Shading
Run the side of your pencil and use back and forth sweeping motions to cover the desired area. Vary the amount of pressure to produce various effects.
Scumbling
Using a sharp pencil, move in a circular motion with light pressure and overlap the circles as you progress along. This technique involves a lot of time and patience, but the prospective result is truly rewarding.
Burnishing
When you lay many layers of color over another employing a lot of pressure until the “tooth” of the paper can no longer hold pigment, resulting in a smooth surface. Do not apply too much pressure as you can break your pencil point or damage your paper. This technique works best when using a paper with a good volume of texture or “tooth”.
Hatching
Hatching is the drawing of closely spaced parallel lines. You can modify the length, angle, and spacing of the lines to show varied effects.
Cross-Hatching
First, lay downstrokes in a horizontal direction, and then overlap in a vertical direction, followed by a diagonal stroke.
Colored Pencil Tips
Choose a quality pencil
When choosing your pencils, it’s best not to go for cheap pencils, because you may be disappointed with the results. Cheaper pencils do not have as much pigment and therefore will not produce the brilliance in color you are after.
Many artists find the Prismacolor Colored Pencils to be a great choice. Prismacolor pencils have a soft lead that goes on smooth. When built up in layers, they produce an almost paint-like appearance.
Avoid wax loom buil-up
Wax bloom, a build-up of wax on the surface of your paper, is something you will more than likely become aware of as you work with the colored pencil medium. The wax in your colored pencil can rise to the surface and form a white, hazy buildup that can dull your finished piece. There are two methods to handling wax bloom.
One approach is to try to prevent it from going on in the first place. Spraying a workable fixative over the surface after you have completed your drawing may help. There is some concern however that fixatives may change the colors in a drawing, so it’s best to try this on a practice drawing first.
The alternative approach is to wait a week or so after you finish the drawing. If you see the wax buildup, take some soft tissue or cotton balls, and wipe the surface to get rid of the wax. Don’t apply too much pressure as you can smear your drawing.
Use the appropriate paper type
The type of paper that you choose for your colored pencil art depends on your style of drawing. Every artist is different, so it is best to explore. Paper comes in an array of textures, otherwise known as its “tooth”. There are rough surfaces with a lot of texture, and smooth surfaces with very little texture. Rougher textures are better for applying multiple layers; whereas smooth surfaces are excellent for blending.
You should purchase a few different types of papers to determine the type of surface you are the most comfortable working with. Some good choices to consider for your colored pencil drawings are Rising Stonehenge, Canson Mi Teintes, and Strathmore.
Keep extra brush for cleaing
Keep a large, soft brush handy for sweeping away unwanted scraps from your drawings. Artists use several items for this purpose, from horsehair drafting brushes to 2″ household paintbrushes.
Avoid electric sharpeners
Try to avoid electric sharpeners as they chew away too much of the pencil. Many artists carry a piece of sandpaper handy and use that to sharpen the pencil point.
Try diffrent types of erasers
Experiment with different types of erasers to determine what type you are most comfortable with. Artists use a range of apparatus for removing pigments or correcting mistakes. Kneaded erasers, plastic erasers, electric erasers, and even tape may work effectively for you.
Blending stumps are handy
For softening hard edges or blending, pick up some blending stumps or a colorless blender at your local craft store.
Take advantage of local resources
Look for some local colored pencil workshops in your area. You will be amazed at the amount of great knowledge and tips you will learn from your instructor and classmates.
Experiment as much as possible
Lastly, never be hesitant to try different things with your colored pencil art. Try various papers, pencils, etc.

